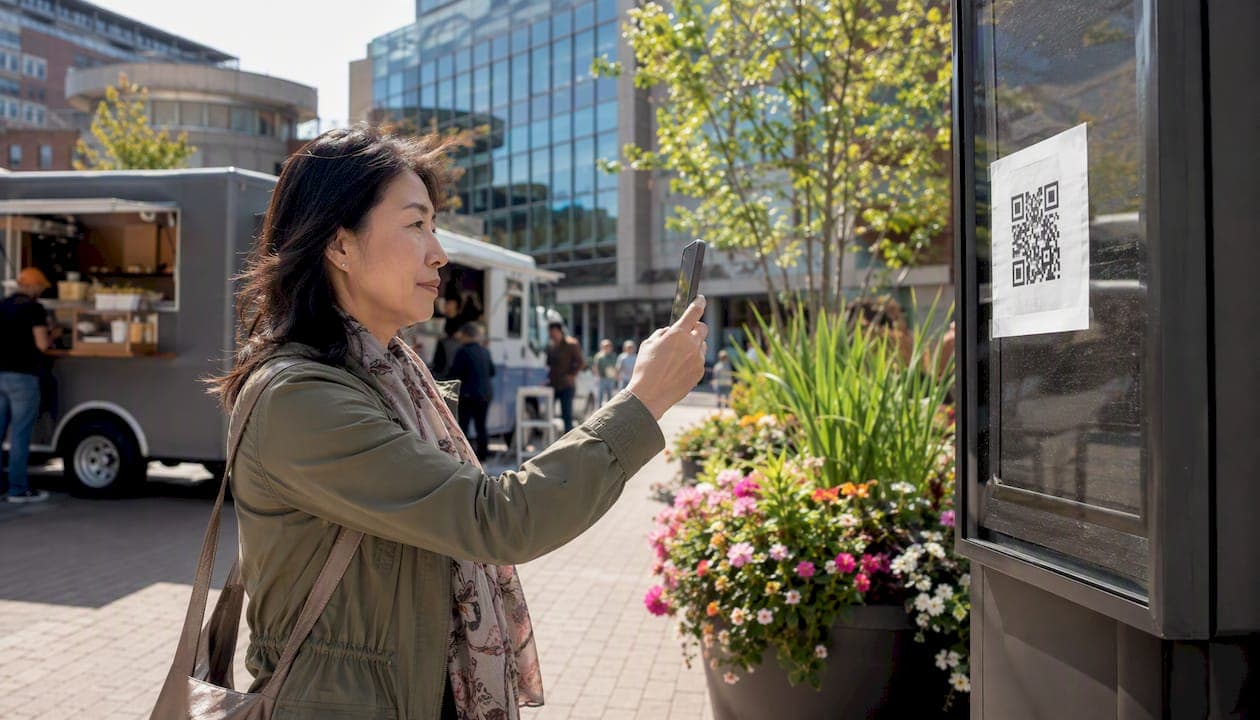
A QR code waitlist lets customers scan a visible code with their phone, fill out a short browser form, and land on your host dashboard instantly — no app download required. Here is the three-step rollout: 1) create a mobile-first check-in page with fields for name, party size, and contact preference; 2) generate a dynamic QR code pointing to that URL and post it at your entrance; 3) test the full flow on both iOS and Android, then train staff to manage the dashboard and send notifications. If you want fast, touchless queuing that cuts door congestion, a QR waitlist is the quickest operational change you can make.
Pro Tip: Use a dynamic QR code so you can update the destination URL or form fields without reprinting signage — critical when you are piloting across multiple locations or running multi-day events.
Table of Contents
- How does a QR code waitlist actually work?
- Why QR waitlists outperform paper sign-in sheets
- Step-by-step setup: launch your QR waitlist in hours
- Where and how to place your QR signs
- How to set up notifications guests will actually appreciate
- US privacy and SMS compliance: what you must know
- Testing and troubleshooting your QR queue
- How Ezseat runs QR waitlists in real venues
- Key Takeaways
- What operators usually miss on the first rollout
- Ezseat makes QR waitlist setup straightforward
- Useful sources and further reading
How does a QR code waitlist actually work?
The guest experience is three taps: open the camera, point at the code, tap the link. A mobile browser opens a short form — name, party size, phone or email, any accessibility notes. On submission, the system creates a live queue record on your host dashboard, fires a confirmation SMS or email, and optionally displays a ticket number on a public screen. No account creation, no app store.
Most QR check-in systems work with any smartphone camera and require no app, which removes the single biggest friction point for walk-in guests.
On the backend, a scan can trigger far more than a presence log. Modern systems use it to send host notifications, unlock a session, or print a badge — the QR becomes an operational trigger, not just a timestamp.
| Guest action | System response |
|---|---|
| Scans QR code | Browser opens check-in form |
| Submits form | Queue record created; dashboard updates live |
| Receives confirmation | SMS/email sent; optional ticket number displayed |
| Called or timed out | Entry marked complete or auto-closed |
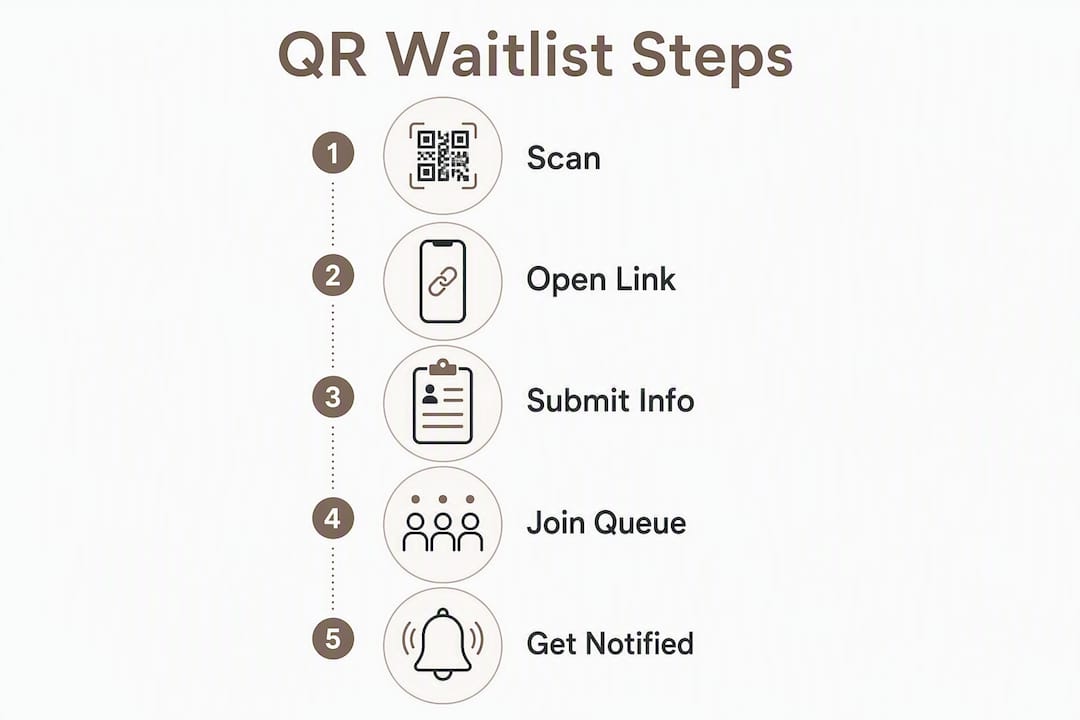
Two check-in patterns cover most venues: a public QR posted at the door for one-off walk-in crowds, and a personal QR pass for repeat guests at recurring sessions like weekly clinics or loyalty programs. Most restaurants and food trucks need only the public version.
Why QR waitlists outperform paper sign-in sheets
Touchless arrival is the headline benefit, but the operational gains go deeper. A digital queue gives you reliable timestamps on every entry, which means you can measure average wait time and no-show rate from day one. Paper sheets give you neither.
"QR code check-in reduces entrance congestion and speeds throughput when attendees know where to find the code before they arrive. Pre-arrival communication is the single biggest lever operators can pull."
Core operational benefits at a glance:
- Touchless arrival cuts physical contact at the host stand during peak hours.
- Reduced crowding at the entrance because guests join the queue from their phone, not a line.
- Faster throughput since staff spend time seating guests, not writing names.
- Live timestamps feed analytics on wait time, no-shows, and peak arrival windows.
- Customer-facing professionalism — a clean digital confirmation signals that your operation is organized.
Real-world use cases where this pays off fastest: quick-service restaurants and food trucks with high turnover, urgent care clinics managing patient flow, barbershops and salons running staggered appointments, and ticketed events with walk-in capacity.
Step-by-step setup: launch your QR waitlist in hours
A single-location pilot can go live in a few hours. A multi-location rollout benefits from a one to two week pilot and structured staff training.
- Create a mobile-first check-in page. Keep fields to the minimum: name, party size, phone or email, and an optional accessibility note. Every extra field reduces completion rates.
- Generate a dynamic QR code pointing to that URL. Dynamic codes let you swap the destination or update form fields without touching the printed sign.
- Design and print signage. Include a one-line instruction ("Scan to join the waitlist") and a short fallback URL for guests who cannot scan.
- Configure notifications. Set opt-in language for SMS (see the compliance section below), and choose your channels: SMS, email, or on-screen ticket.
- Set auto-close and capacity rules. Define a timeout threshold so abandoned entries clear automatically and your active list stays accurate.
- Test the full flow on iOS and Android cameras, on slow connections, and with multiple simultaneous scans to simulate a lunch rush.
- Train staff on dashboard actions: marking no-shows, calling parties, manually adding walk-ins, and handling the fallback sign-in sheet.
Pre-launch test checklist:
- QR scan opens the correct form on both iOS and Android
- Submitted entry appears on the host dashboard within seconds
- SMS confirmation delivers and opt-out link works
- Auto-close fires after the configured timeout
- Manual walk-in entry works from the staff device
Timeline: a single-location pilot is a same-day task. Multi-location rollout: one to two weeks for pilot data, then scale.
Where and how to place your QR signs
Placement determines scan rate more than design does. Eye level at the entrance is non-negotiable — guests should see the code before they reach the host stand, not after.
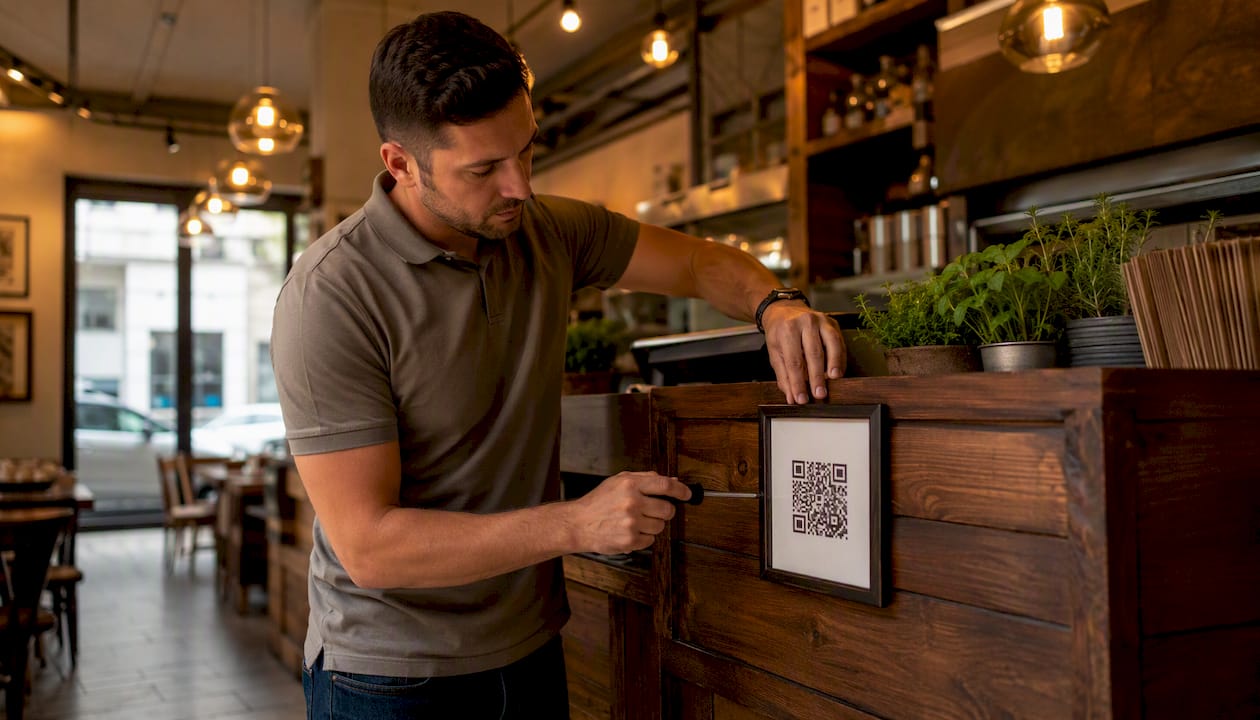
High-value placement spots: entrance door or window at eye level, host stand or reception counter, outdoor sandwich board for sidewalk visibility, and payment counter for venues where guests pay before joining a second queue.
Design rules that actually matter: high contrast between the code and background (black on white outperforms everything), at least 3–4 inches of quiet space around the code, and a minimum print size of 1.2 inches for a scan distance of about 12 inches. For a door sign read from 3 feet away, go larger — at least 2.5 inches.
Sample sign copy:
Door/window: "Scan to join our waitlist. We'll text you when your table is ready."
Counter tent: "Skip the wait. Scan the code, enter your name, and we'll call you."
Outdoor board: "Join the waitlist from outside. Scan below or ask staff to add you."
Always include a short URL and a "Can't scan? Ask us" line. Accessibility is not optional — some guests will not have a working camera or sufficient data.
How to set up notifications guests will actually appreciate
Notification timing matters as much as the message itself. Three moments cover the full guest journey:
- Immediate confirmation on join: party name, estimated wait, and a checkout link if they need to leave.
- ETA update when the party is 2–3 spots from the top: include current wait estimate and a "reply STOP to opt out" line for SMS.
- Final call when it is their turn: short, direct, with a pickup window ("Your table is ready — please check in within 5 minutes").
SMS has the highest open rate of any channel but carries the strictest rules (covered in the next section). Email works well for confirmation receipts and post-visit follow-up. On-screen ticket numbers at a public display serve guests who prefer not to share a phone number.
Suggested cadence: 10–15 minutes before estimated call, 5 minutes before, and immediate when called. Make each interval configurable so you can tune it after the first week of data.

US privacy and SMS compliance: what you must know
Collecting phone numbers for waitlist notifications triggers TCPA obligations. The core rule: get clear, written opt-in consent before sending any automated text. A checkbox on the check-in form with plain language ("By checking this box, you agree to receive a text message when your table is ready") satisfies this for transactional messages.
Under the TCPA, businesses must obtain prior express consent before sending automated text messages. For transactional messages tied to a specific service request, a clear opt-in at the point of collection is the standard approach — but marketing messages require a higher standard of written consent.
— FCC, Stop Unwanted Robocalls and Texts
Practical controls to put in place:
- Collect only what you need: name, party size, and one contact method.
- Set a short data retention window. Transient waitlist entries do not need to live in your system past the same day.
- Include "Reply STOP to opt out" in every SMS.
- Use role-based dashboard access so only authorized staff can view guest contact data.
- Add a one-line privacy note to your check-in form: "Your contact info is used only to notify you about your waitlist status."
For anything beyond transactional notifications — promotional texts, loyalty messages — consult legal counsel. The TCPA distinction between transactional and marketing messages carries real penalty exposure.
Testing and troubleshooting your QR queue
Pre-opening checklist (pin this at the host station):
- QR scan opens the correct form (not a cached or old URL)
- Entry appears on the dashboard within 5 seconds of submission
- SMS delivers to a test number; opt-out link works
- Auto-close fires after the configured timeout
- Staff can manually add a walk-in from the dashboard
Common issues and fixes:
- Scan opens wrong URL: regenerate the dynamic QR and retest before reprinting.
- Form loads slowly: minimize scripts and images on the check-in page; a lightweight form loads in under 2 seconds on a 4G connection.
- SMS not delivered: check provider sending limits, verify the guest's opt-in status, and confirm the number format is correct (US numbers need the country code).
- Guests can't find the QR: move signage to eye level at the entrance, or assign a staff member to prompt guests on arrival.
Configurable auto-close rules handle the most common operational headache: abandoned entries that inflate your active queue count. Set a timeout that matches your average service time and the list stays clean.
On-the-floor fallback: keep a short paper sign-in sheet and a staff device for manual entry. One designated person handling scan exceptions keeps the main flow uninterrupted.
How Ezseat runs QR waitlists in real venues
Ezseat is built specifically for the venues where QR waitlists matter most: restaurants, clinics, food trucks, barbershops, and events. Guests join via a browser-based form triggered by a public QR code at the entrance — no app, no account. The host dashboard updates live on any phone or tablet, and SMS or call notifications go out automatically when a party's turn arrives.
Practical tips from Ezseat's implementation approach: start with a single entrance and conservative auto-close thresholds (shorter than you think you need), then adjust after the first week of data. For high-volume locations, a public screen displaying the next three ticket numbers cuts guest anxiety without requiring staff to make announcements.
Ezseat offers a free two-month trial before any paid plan, with Light and Pro tiers that scale as your operation grows. Multi-queue and multi-device support means a single subscription can cover a food truck and a brick-and-mortar location running simultaneously.
Key Takeaways
A QR code waitlist reduces entrance congestion, gives operators live queue data, and requires nothing from guests beyond a phone camera and a browser.
| Point | Details |
|---|---|
| Dynamic QR codes save reprints | Use a dynamic code so you can update the destination URL without new signage. |
| SMS requires opt-in | Collect written consent on the check-in form and include opt-out in every message (TCPA). |
| Auto-close keeps lists accurate | Set a session timeout to clear abandoned entries and maintain an accurate active queue. |
| Pilot at one entrance first | Launch at a single location, measure wait time and no-show rate, then scale. |
| Ezseat runs browser-based QR queues | Ezseat supports public QR check-in, live dashboards, and SMS notifications with a free two-month trial. |
What operators usually miss on the first rollout
The QR code itself is rarely the problem. What trips up most first-time rollouts is everything around it: guests who scan, join the queue, then pocket their phone and wander — missing the SMS because they are in a dead-signal basement or their battery died. Assigning one staff member to handle exceptions (not the whole floor, just one person) keeps the main flow clean while those edge cases get resolved without drama.
Two small changes that consistently outperform expectations: sending a pre-arrival message that tells guests where to find the QR before they walk in, and displaying the next three parties on a visible screen at the host stand. The first reduces entrance clustering. The second cuts the "am I still on the list?" interruptions that slow every host down. Neither requires new hardware — just a configured notification and a spare tablet.
Ezseat makes QR waitlist setup straightforward
Running a touchless queue does not require a complex tech stack. Ezseat gives you browser-based check-in via a public QR code, a live host dashboard manageable from any phone or tablet, SMS and call notifications, and multi-queue support for venues running more than one line at once. Guests scan, join, and wait wherever they want. You see the queue in real time and call parties when you are ready.
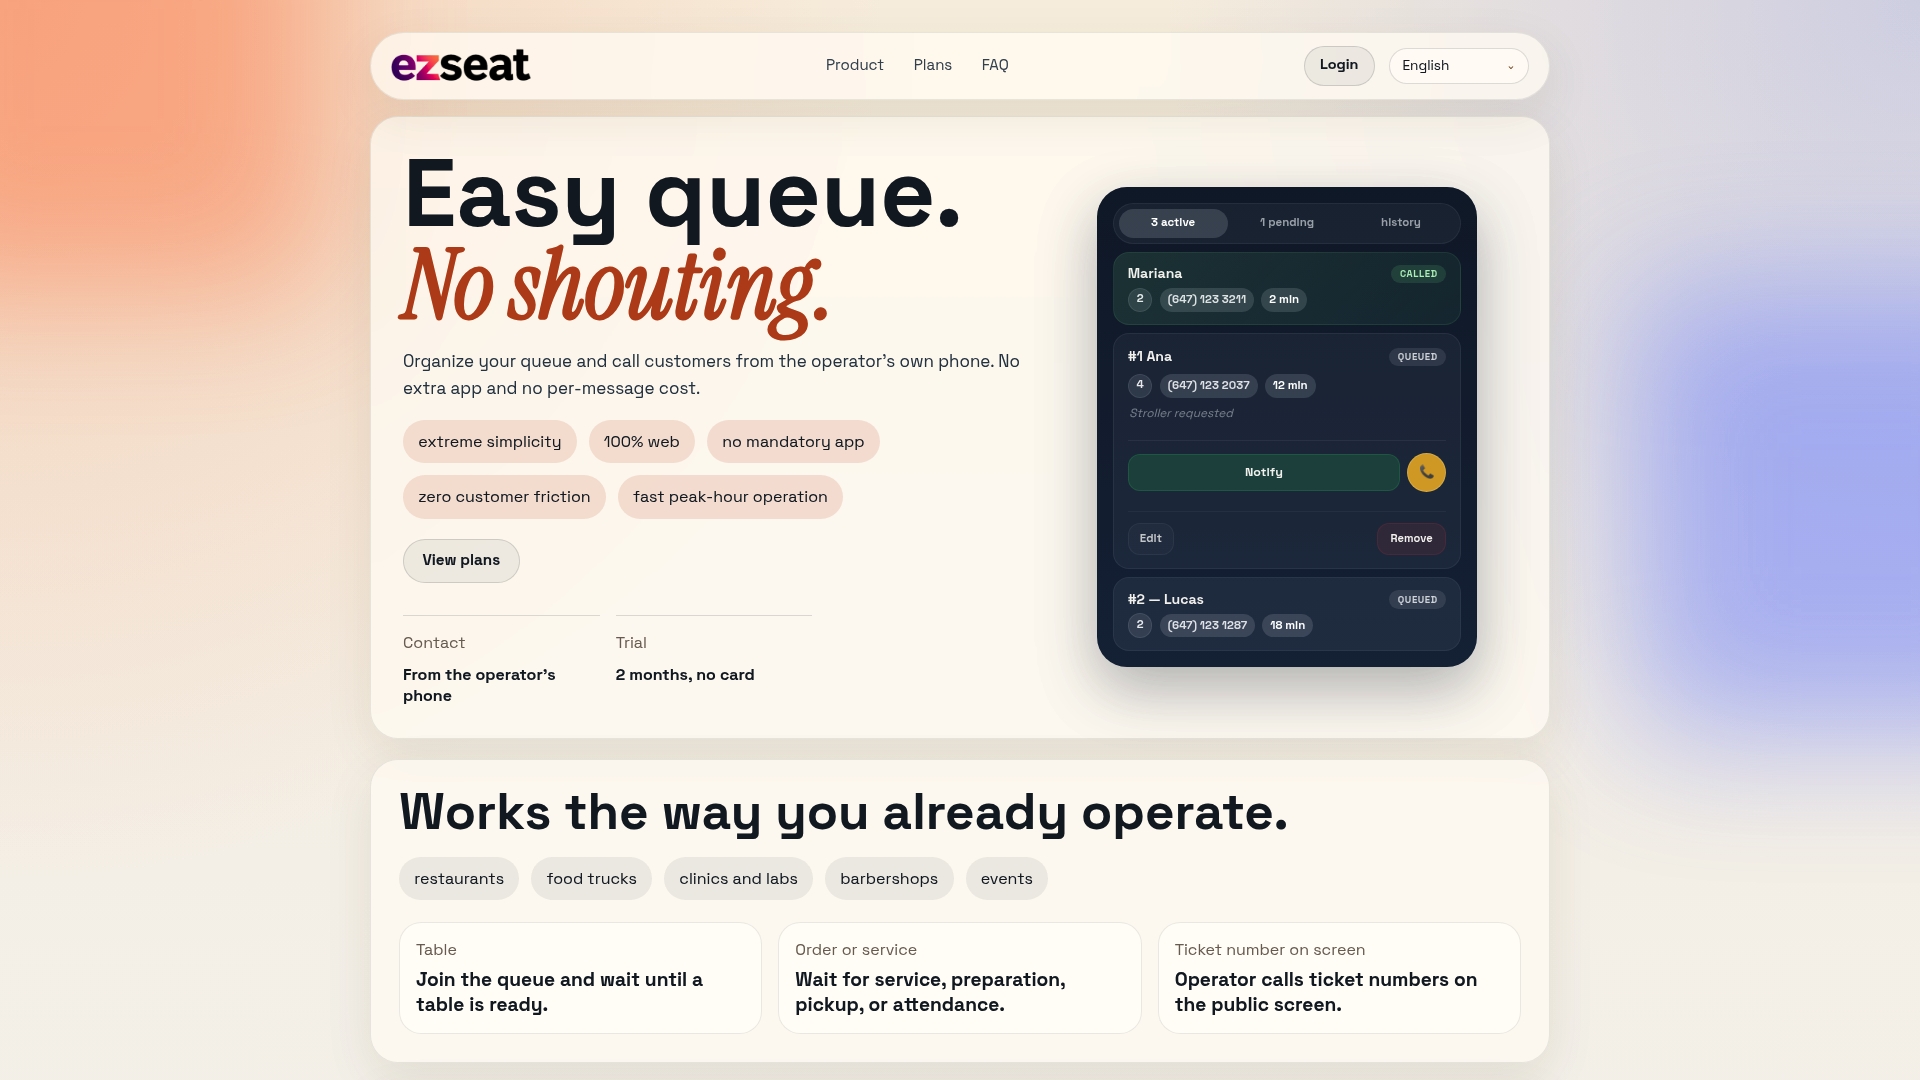
The free two-month trial covers the full feature set, so you can run a real pilot at one entrance, measure the results, and decide on a plan tier with actual data in hand. Start your trial at ezseat.app and have your first QR waitlist live before the end of the day.
Useful sources and further reading
- The Event Planner's Guide to QR Code Check-In — Cvent's practical guide covering pre-arrival communication, scan-triggered workflows, and real-time arrival monitoring.
- QR Code Check-In System — QRKIT's overview of dynamic QR codes, no-app browser check-in, and free trial options for small venues.
- Free QR Code Visitor Check-In — VisitorLog's feature page on auto-close rules, configurable session timeouts, and unique per-facility QR codes.
- Generate a QR Code for a Waitlist Check-In Page — Salesforce Help documentation on generating QR codes tied to waitlist check-in pages.
- FCC: Stop Unwanted Robocalls and Texts — Primary FCC guidance on TCPA opt-in requirements for automated SMS; consult legal counsel for marketing versus transactional message distinctions.
This article provides general operational and compliance information, not legal advice. Confirm current TCPA requirements with the FCC or a qualified attorney before deploying SMS notifications.